Manage Your Monster+ Job Postings
All the jobs you create are conveniently saved in a central location. This is where you can take action on your previously posted jobs and access your applicants. Monster offers the management tools you need to effortlessly view, edit, expire, renew and monitor performance.
In this article we’ll review everything you need to know to successfully manage your jobs with Monster. Read on or choose a topic below for more details.
Locate your jobs
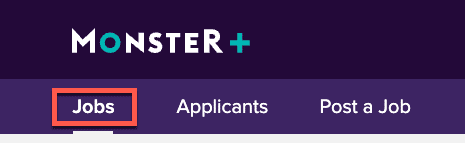
When you sign into your Monster account, you will see “Jobs” at the top of the page. Click on it to be directed to a list of all your positions:
By default, 10 jobs are displayed on each page, but at the bottom right corner of the page you can change that and view up to 25 or 50 jobs at a time:

![]()
Sort & filter
Organize your view using the sorting and filtering capabilities available right at the top of the page.

Sorting helps you rearrange the list of jobs according to your selection.
Here is what you can do:
- Show the recently updated jobs first. This is the default setting when you open the Jobs page.
- Show the recently updated jobs last.
- Sort the jobs by job title in alphabetical order.
(A-Z or Z-A). - Sort the jobs by location in alphabetical order.
(A-Z or Z-A).

Filtering allows you to narrow down your list of jobs, so you can focus only on the ones you need to manage at the moment.
You can filter using the following values:
- Job title – View jobs based on their title.
- Location – View jobs posted in a specific location. You can select one or multiple locations.
- Status – View jobs based on their status. For example: draft, open, closed, expired.

![]()
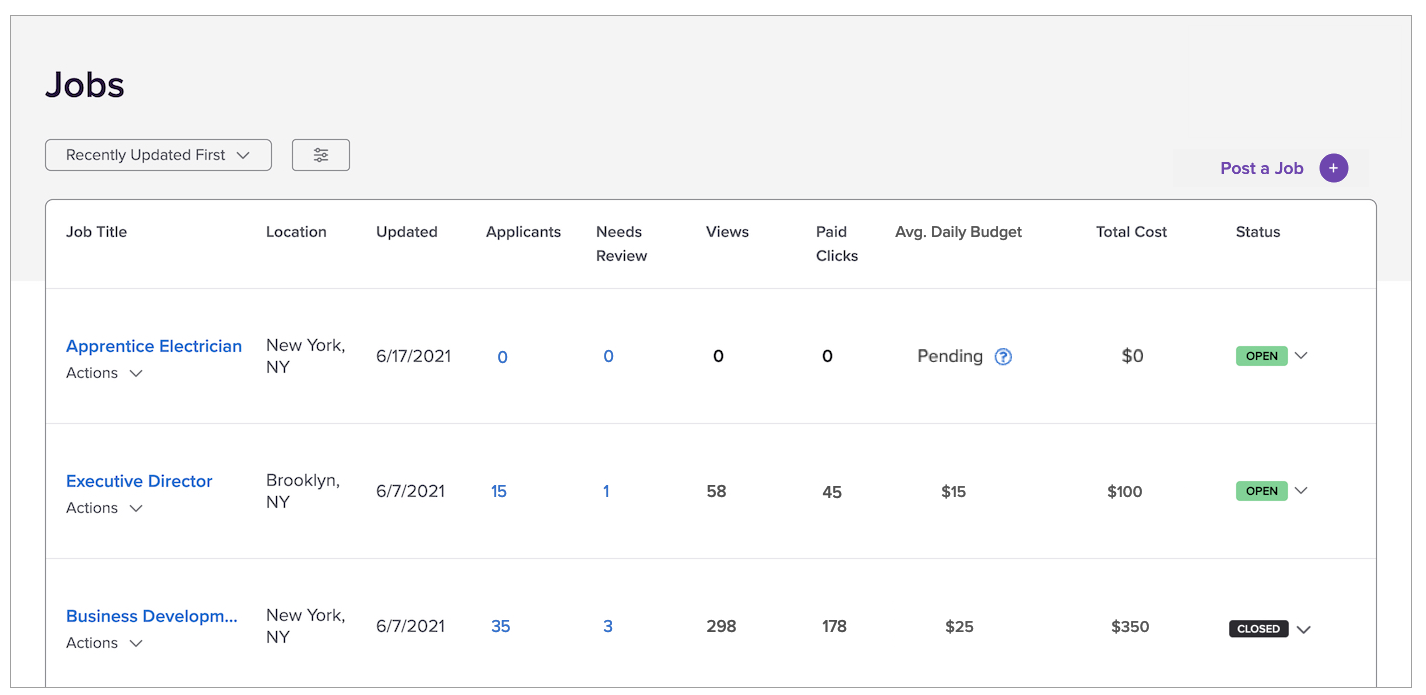
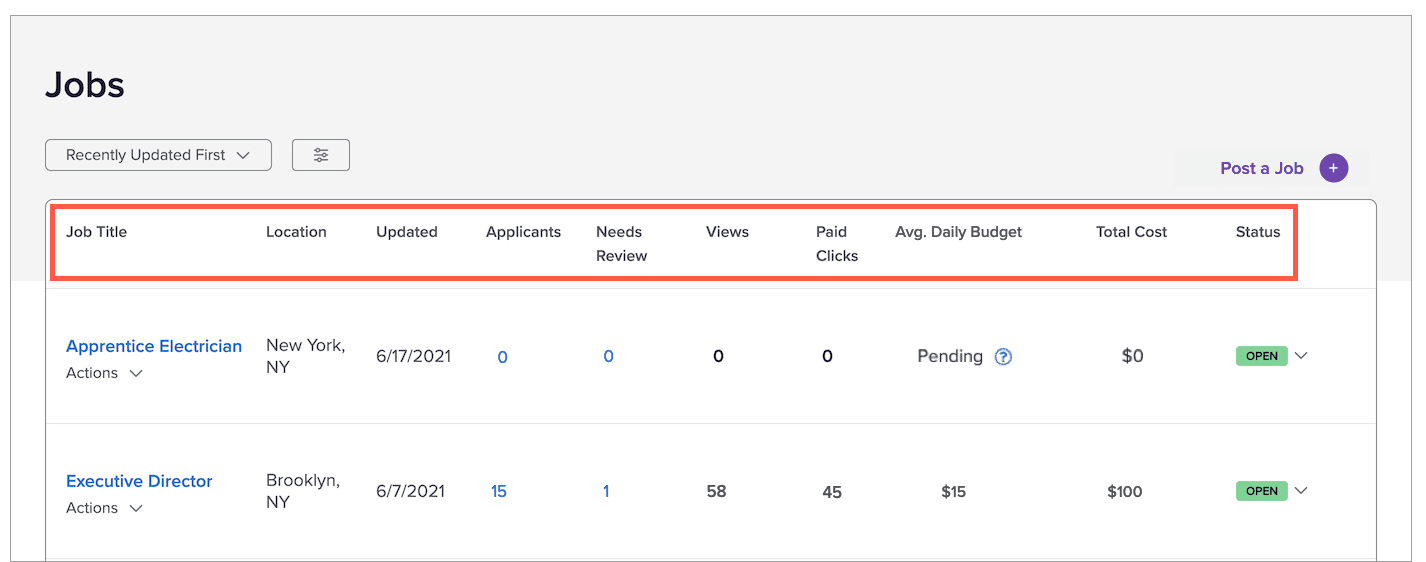
Job Posting information
The Jobs view shows very useful information for each of your positions. Let’s take a closer look at what each field means.
- Job title – Here you can see the title of the job posting. Clicking on it will show you performance metrics for this job posting. Check out the Monitor Performance section below to learn more.
- Location – This is the job location that was selected during setup.
- Updated – This field shows you the date the last action was taken on the job.
- Applicants – Here you can monitor how many applications you have received to date. Clicking on the applicant number will bring you to the Applicants page, where you can view and manage your applicants. To learn more about this topic, review our article on Applicant Management.
- Needs review – This number indicates that you just received new applicants who are waiting to be reviewed. Use this to quickly see when new applications have been submitted.
- Views – Marks the total number of views your job has received.
- Paid clicks – Paid clicks are the actions you are being charged for (i.e., when a candidate clicks, taps, or swipes to view your job).
- Average Daily Budget – This is the average daily budget you allocated for this job during initial set up.
- Total cost – This field shows the promotion spend to date.
- Status – These are the most frequent statuses you may see:
- Draft – The job has been saved in your account but not posted yet.
- Open – The job has been posted and is currently live on the Monster site.
- Closed – The job has been manually removed from the site before its expiration date.
- Expired – The job has hit its expiration date.
![]()
Job Posting actions
Right below the job title, the Actions menu will provide you with a couple of management tools.
Depending on the status of your job, you will have the ability to: edit, view, complete or delete.

- Edit – Takes you back to the posting flow, where you can update the information of an open job.
- View – Opens the live job ad. This allows you to retrieve the direct link of the job ad and view it just as seekers see it.
- Complete – If your job ad is in draft and you’re ready to post, you can finalize it and publish it to the site.
- Delete – Remove a draft you don’t need anymore.
Tip: For quick actions, use the status dropdown menu on the right.
- To repost a job ad, simply change the status from “Closed” to “Open.” You will then be prompted to choose a promotion budget to complete the setup and post the job.
- To remove a job ad before its expiration date, change the status from “Open” to “Closed” and it will be removed from the site.

-

Please note: If you have a promoted job ad that you wish to remove completely before its expiration date, manually change the status from “Open” to “Closed” and the promotion will be stopped and the job will be removed from search results.

![]()
Monitor performance
After posting your offer, you can track the progress of your jobs with performance data, which helps you evaluate the effectiveness of your job ad.
Clicking on the title of the job ad will show you some details related to Job Ad Performance and its promotion.

Job Ad Performance:
- Views – The total number of views your offer has received.
- Paid Clicks – This is the number of actions that are using your promotion budget. This includes the number of clicks, taps, or swipes candidates have made to view your job ad.
- Applications – This shows you how many applications you have received for this job ad to date.
- Total cost – This field shows the promotion spend to date.
Current Promotion – If your job posting is currently being promoted, you will see metrics that are tied to this specific promotion. You will see your budget along with the scheduled end date, paid clicks and the cost to date.

Take a look at our article, Promoting Your Monster Job Ads, to learn how to extend your reach.
-
Do you have any questions about billing & invoices? Take a look at Admin Tools article