Monster+ Account Administrative Tools
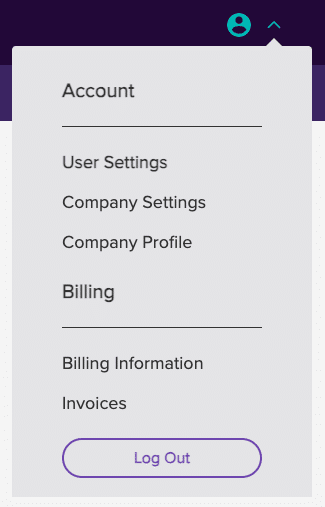
When you are working within your Monster account, all of your account details are located in the menu on the top right of the page. This is where you can access everything associated with your Monster account. Keep your contact information and payment options up to date, access invoices and tax information, and create your company profile with a logo, a video and more.
User Settings
User Settings is where you can go to update your login information and password. You can also review your Notification Preferences on this page. Opt-in to receive special announcements and promotions from Monster.
Expand the Accounts section to reveal the accounts associated with your sign in credentials. If you have more than one account associated with the email address you used to sign in, you can choose the default account that will be active upon sign-in, or simply switch the account you are working within for now.
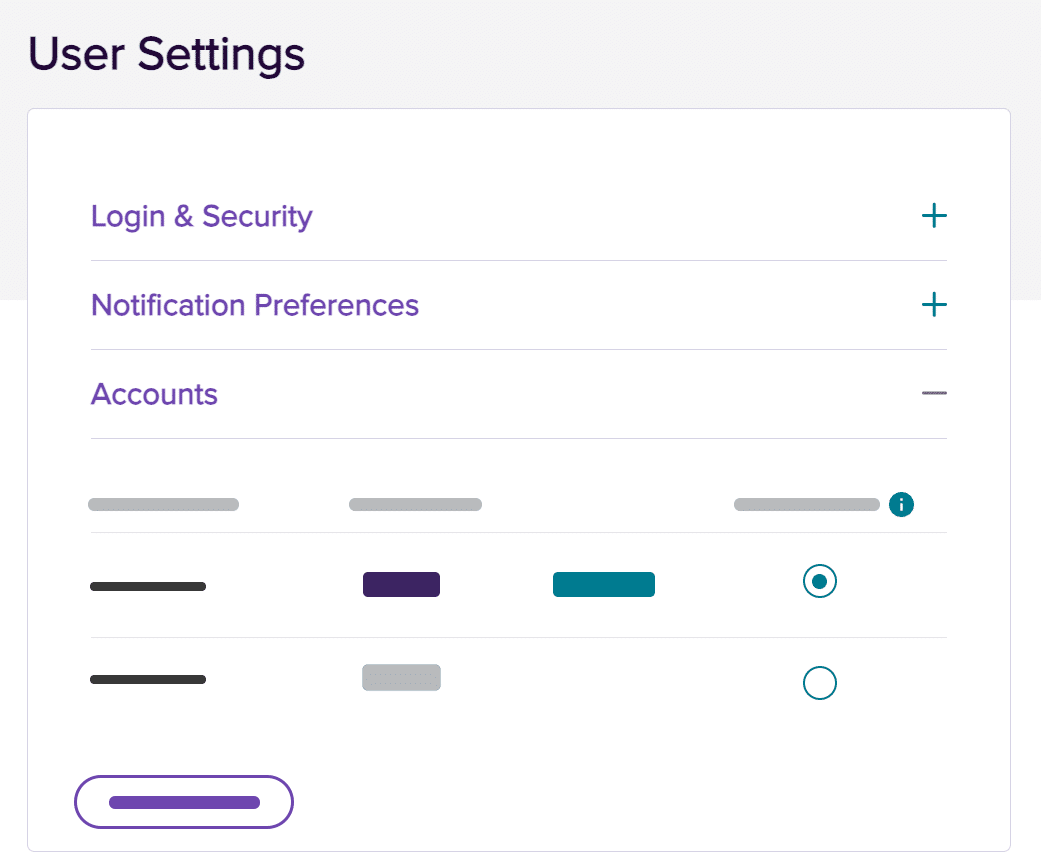
To set the Default Account, click the button in the Default Account column and follow the prompts.
To simply switch the account you are currently working from, click the Switch Accounts button at the bottom of the list and follow the prompts to confirm the switch. Note: This switch will not impact your default settings.
![]()
Company Settings
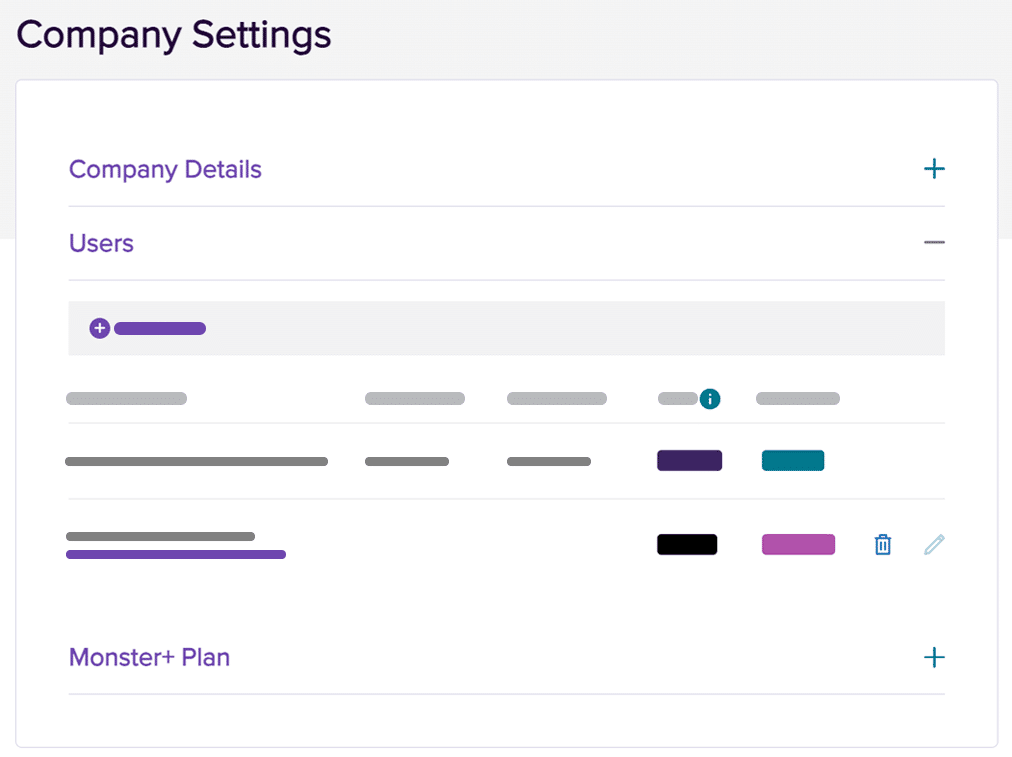
Go to your Company Settings to view and edit your Company Details, Users, and Monster+ Plan.
Company Details: The company name shown in the Details section is not public and only intended for internal account recognition. Feel free to many any changes using the edit icon.
Users: Click to expand this pane to manage your users. You can add as many as you want in the Monster+ Pro Plan. Just click Add a User and enter the email address and access level you’d like granted. Although this page will be visible to all users, only Admins/Owners will have the ability to make changes. For details regarding role permissions, click on the info icon next to the Role column. Click the delete or edit icons to make any user updates.
Here are a few things to note:
- New users who do not have a Monster+ account will be automatically prompted to create one after accepting the invitation.
- Pending means the user has been invited to join the account via email notification but has not yet accepted. Each invitation expires after 5 days.
- Active means the user has accepted the invitation.
- Removing users is a seamless process. Once deleted, they will no longer have access to your Monster+ resources, their job postings will remain under the company account and any new applicant email notifications will be re-directed to the Company Admin.
-

Activating Previous Users
If you were a Monster+ Pro Plan subscriber in the past, and you choose to upgrade again, you will see that your users remain in your account. Once you reestablish your Pro Plan subscription, you will need to click on the lightning bolt next to each user to activate their account once again.

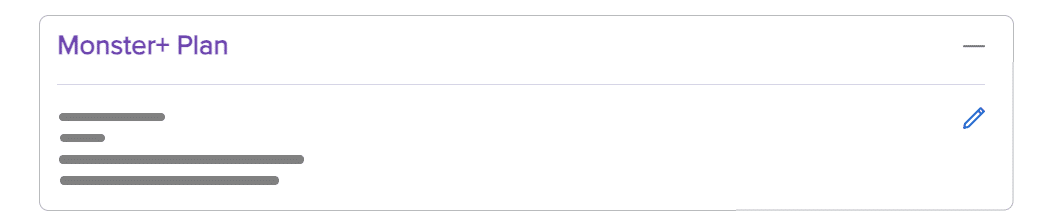
Monster+ Plan: Check out our plan details and make updates at any time. Simply click the edit icon to review plan options and make any changes.
![]()
Company Profile
Create a Company Profile to strengthen your employer brand and save time. Just enter your details, include a logo and video, and add a description that positions your company as an employer of choice. Enter this information once and a consistent and strong brand identity will be automatically applied to every job ad you post!
To access your Company Profile, click on the user icon at the top of the page and then click Company Profile in the dropdown menu. You will be brought to a page where you can edit all of the elements of your company profile.
When creating a job ad, you can also enter your Company Profile information in the Finalize step. Anything you add to the About the Company section can be saved to your Company Profile just by checking the box shown below.

![]()
Billing & Invoices
Click the user icon at the top of the page, and you will see two items in the Billing section of the menu.
The Billing Information page is where you can confirm and edit your billing contact information, stored payment information, as well as your tax information and exemption status. You have the option to set up a saved payment at any time.
The Invoices page features all of your recent invoices and complete payment history. If you would like to view, download, or print any of them, just click the invoice number.
Have more questions? Review our Job Ad Promotion & Payment Details article for answers.
![]()