Settings & Navigation SearchMonster
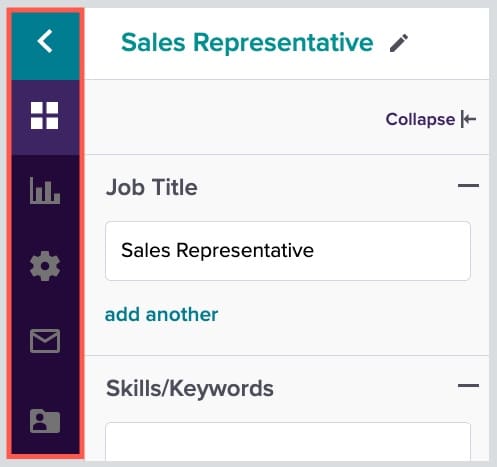
Now that you know the basics of SearchMonster, let’s go into all of the settings that you will find in the left pane of your SearchMonster Results page.
This is where you will be able to control everything from your search settings to your auto message campaigns to your folders.
The name of the menu surfaces on rollover for easy navigation. To learn the ins and outs of each menu, read on.
Dashboard and Saved Searches
The Back to Dashboard icon at the top will do just what it says. Once you are back on your dashboard you can conduct a new search or access or manage one of your saved searches.
While we are here, let’s cover all of the settings associated with your Saved Searches.

In this card view, you will see each search you’ve performed in SearchMonster which contains the Job Title or Boolean search string, how long ago it was created, the location and the top search criteria that was entered.

There are 4 main functions on these search cards:
- Clone your search to start a new one with all the same search criteria. Just know that campaigns, favorites and messages will not carry over.
- Archive your search if it’s complete but you’d like to save it for future reference. If you choose to do this, active auto message campaigns or notifications will automatically be shut off. You can access them from the Archived Searches tab above your cards.
- Delete your search if you will never use it again. It will be removed from SearchMonster and notifications or email campaigns associated with it will be shut off.
- Performance is a big factor when it comes to setting up and managing your auto messages. As you can see in the image above, if you click on this icon you will get a birds-eye view of your email campaign’s results.
Turn on the Bulk Actions switch above your cards and use the check marks to easily archive or delete multiple searches at a time.

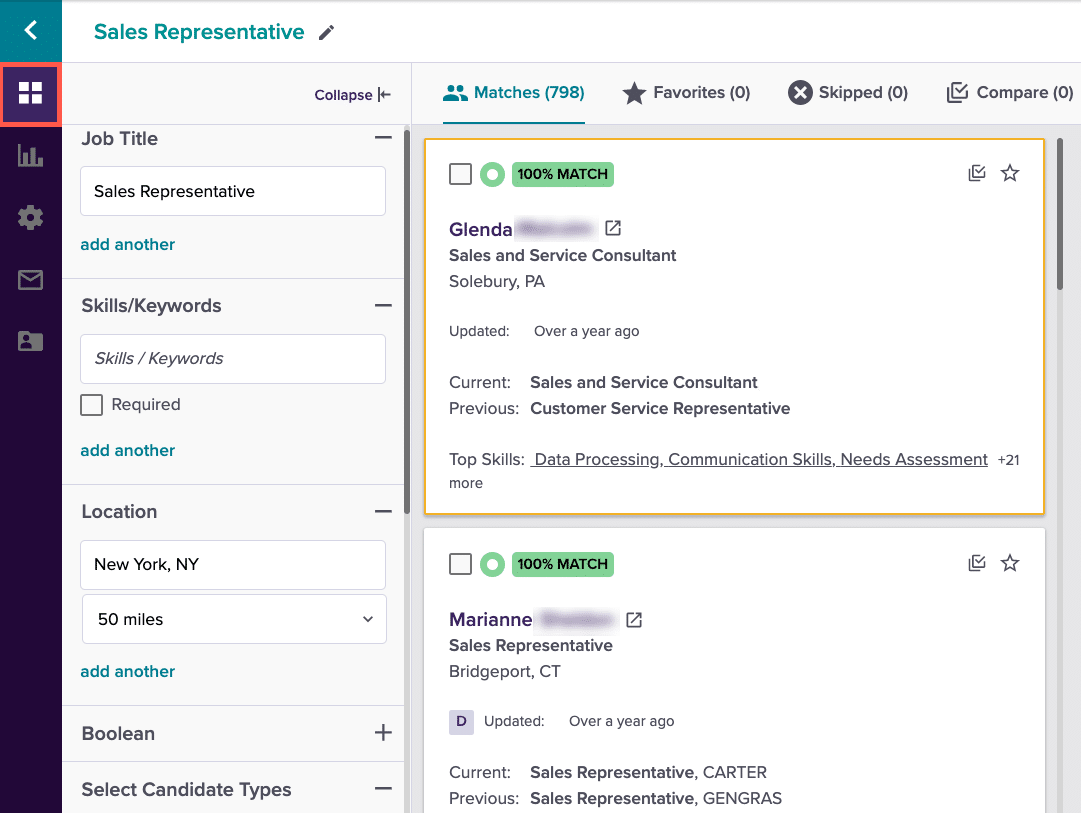
Search Results
No matter what page you are on, the easiest way to return to your results is by clicking on the Search Results icon. It will always bring you back to your candidate list.

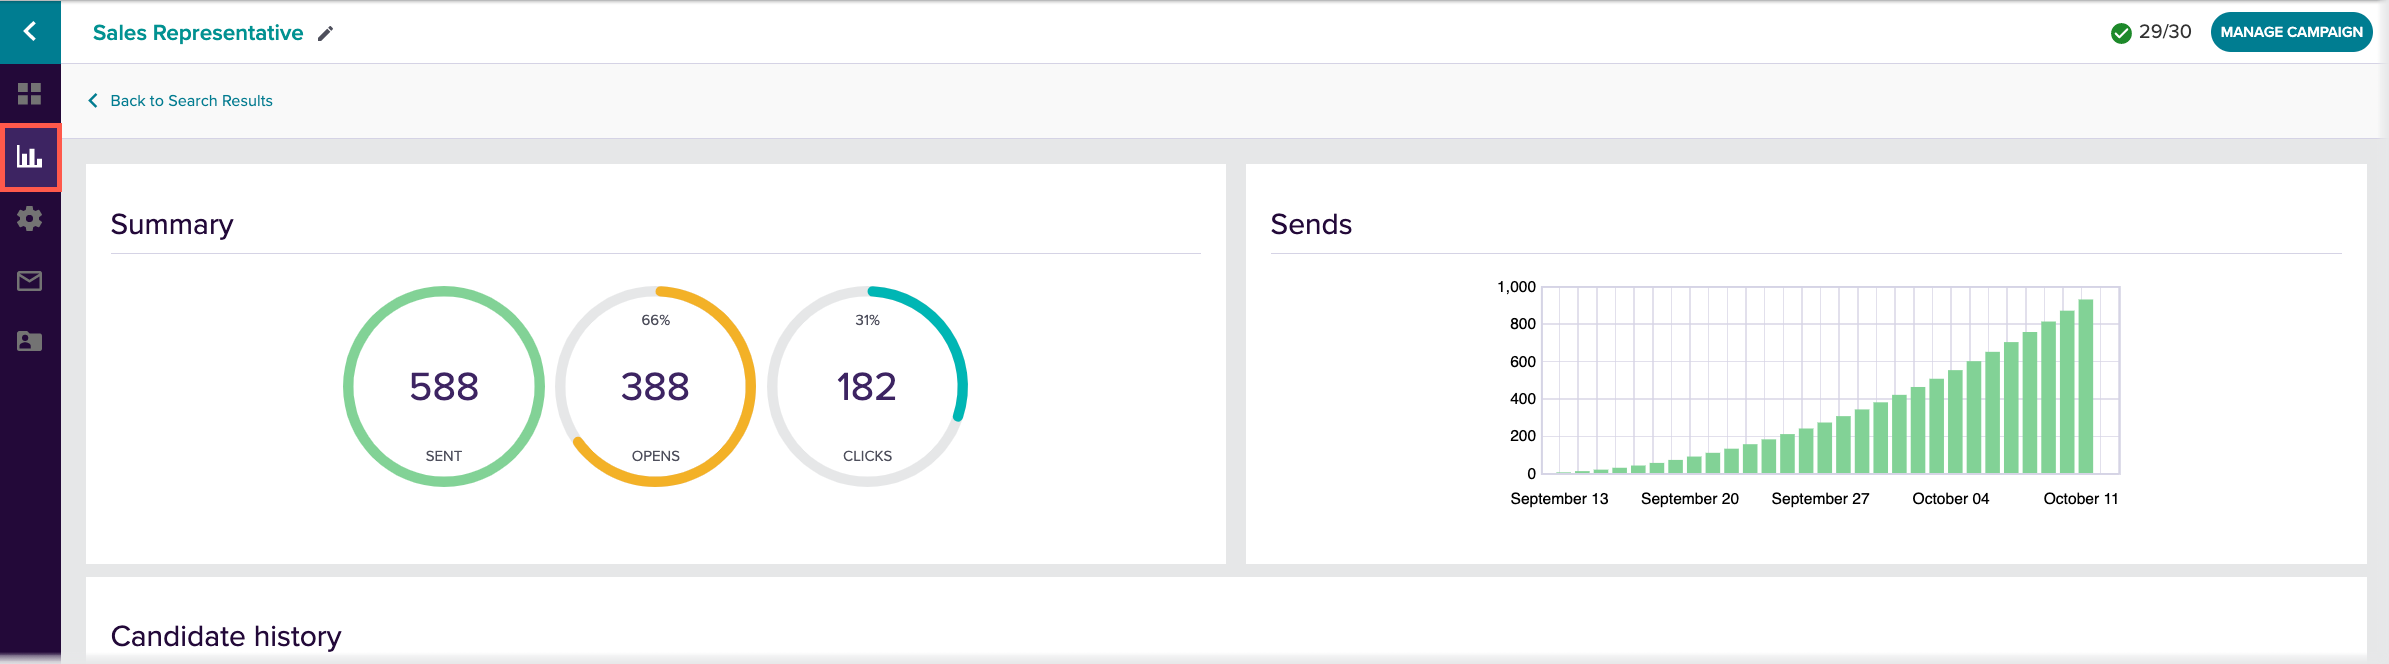
Performance Overview
The Performance Overview menu is just for searches that have active campaigns.

As you can see in the image below, this page will give you important metrics related to your auto message campaigns including how many emails were sent as well as open and click rates. A timeline of sends is also shown here as well as a list of candidates who have received your email which will display in the Candidate History section.
Don’t forget you can easily return to your Dashboard or Search Results with the left pane menu.
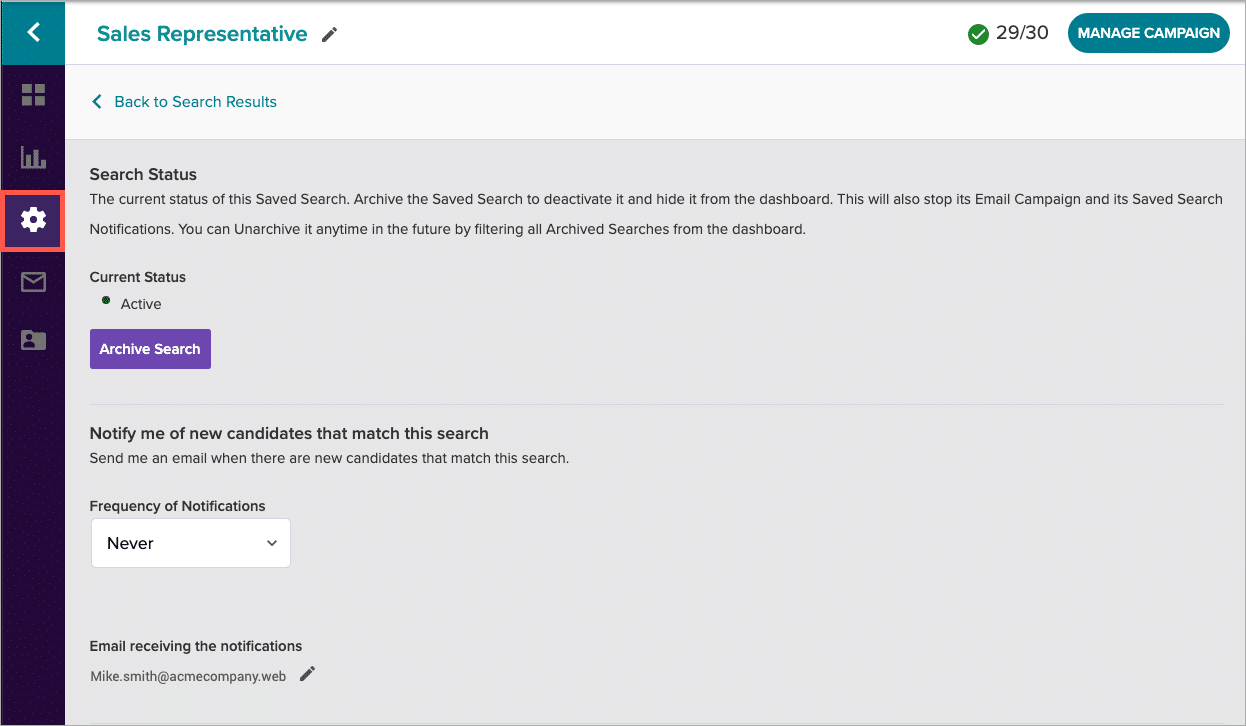
Settings
The Settings menu will bring you to a new page where you can see your search status and set up your search notifications.

Your Search Status is where you can Archive an active search. If you choose to do this, all notifications and email campaigns will be turned off.
The notification section will allow you to choose if you would like to receive email notifications if new candidates match this search. If so, just make sure to select the frequency of those notifications and confirm the email address listed is correct.
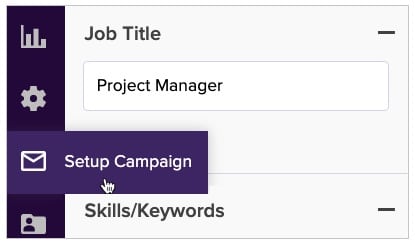
Campaign
The email icon is where you can set up or manage your auto message campaigns. If you haven’t set up an auto message campaign, this menu is named Set Up Campaign. If you have a campaign in progress it will be named Setup Campaign.
Clicking this menu icon will open a window with your Email Campaign editor. This is where you can create or modify your email and follow up emails, and edit your settings around expiration dates, maximum daily sends and any contact exclusions. For more details on this, check out our article on Messaging Candidates in SearchMonster.

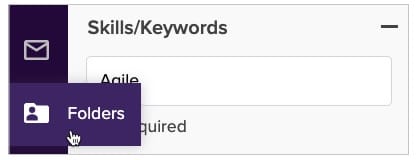
Folders
Click on the folders menu to launch the Manage Candidates experience.
This is where you will be able to organize all of the candidates you are interested in, in one central location.